
When it comes to upgrading your stairway with both beauty and safety, a non-slip stair tread rug set is the perfect solution. Whether you have kids, pets, or simply want to reduce noise and prevent slips, these stair mats bring multiple benefits. In this guide, we’ll walk you through an easy, step-by-step installation, highlight key product advantages, and help you make the right choice for your home.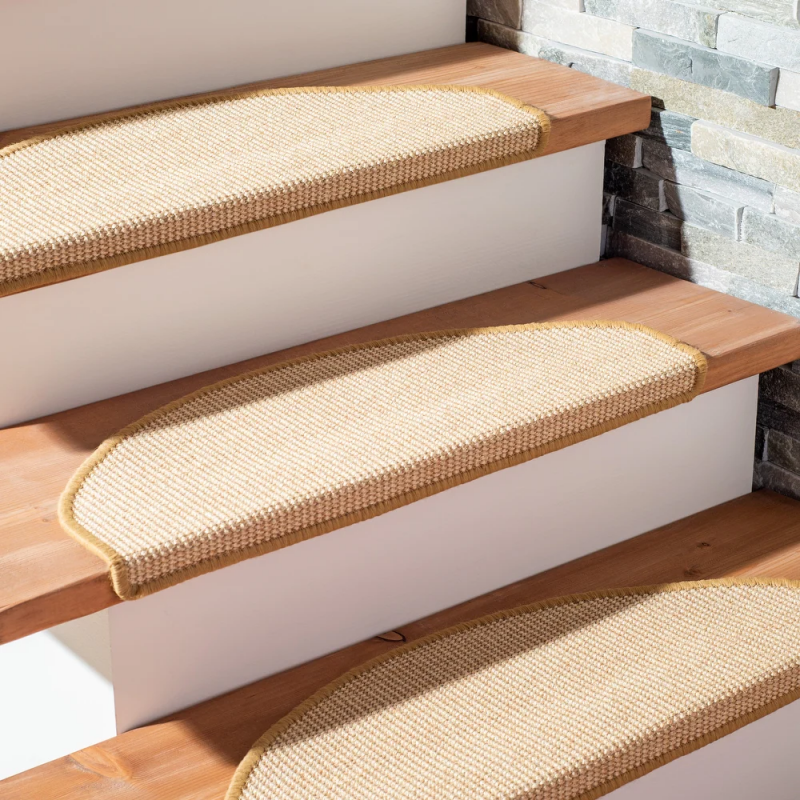
Why Choose Our Non-Slip Stair Tread Rug Set?
-
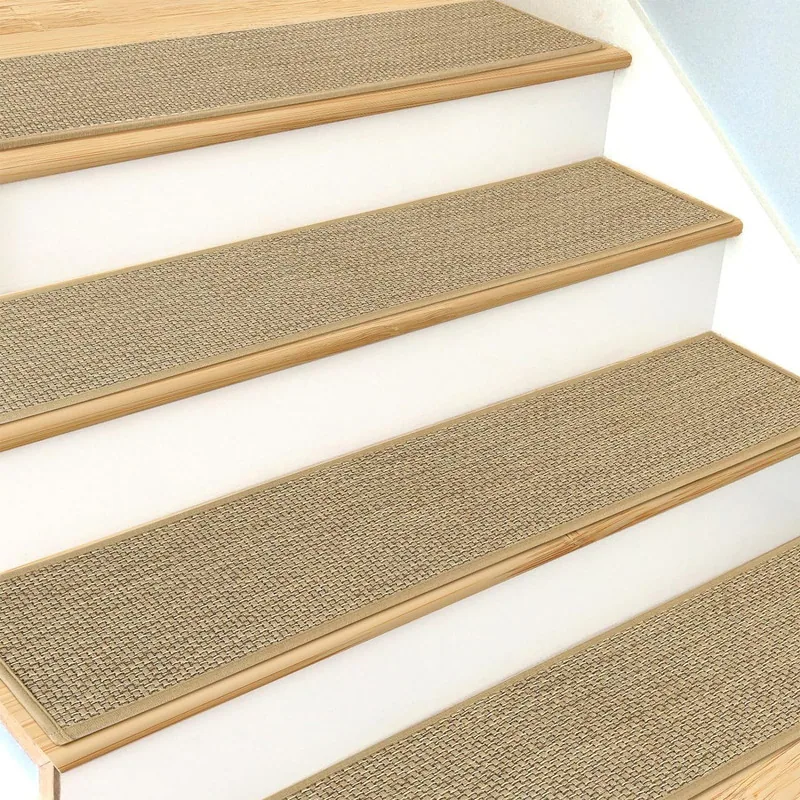
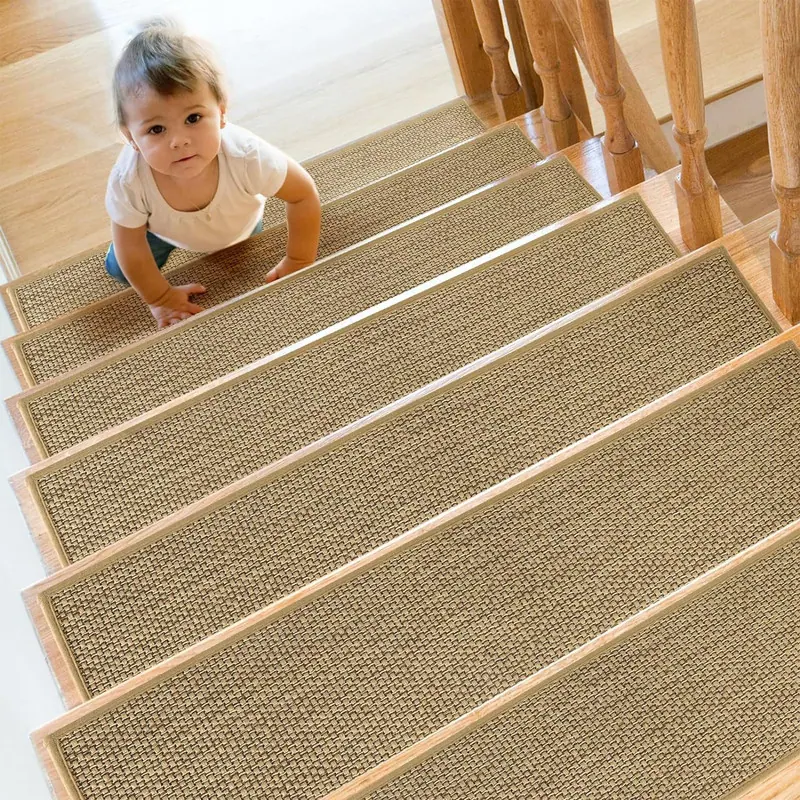
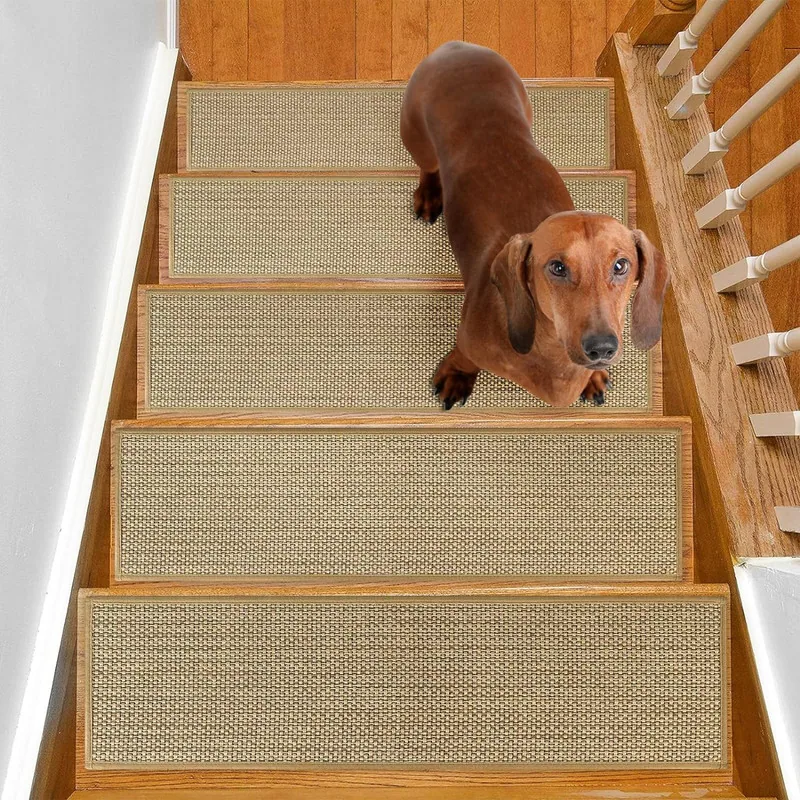
Ultimate Safety for Kids & Pets: The non-slip surface minimizes slip risks, especially on hardwood or tiled stairs. Your little ones and furry friends can climb safely.
-
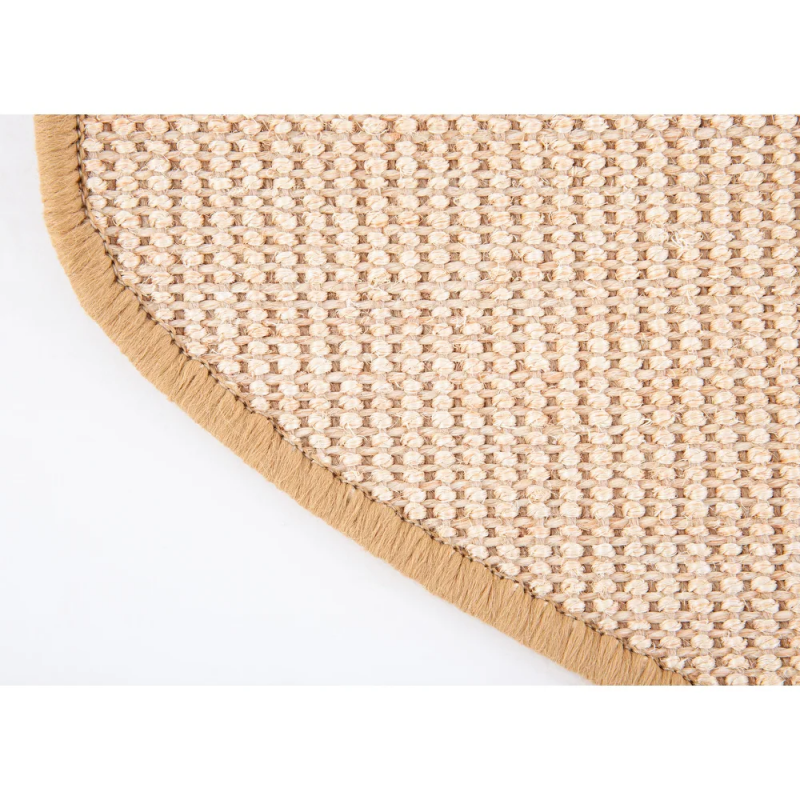
Quiet Steps, Peaceful Home: The soft top layer helps absorb noise, making footsteps gentler and reducing echo in stairwells.
-
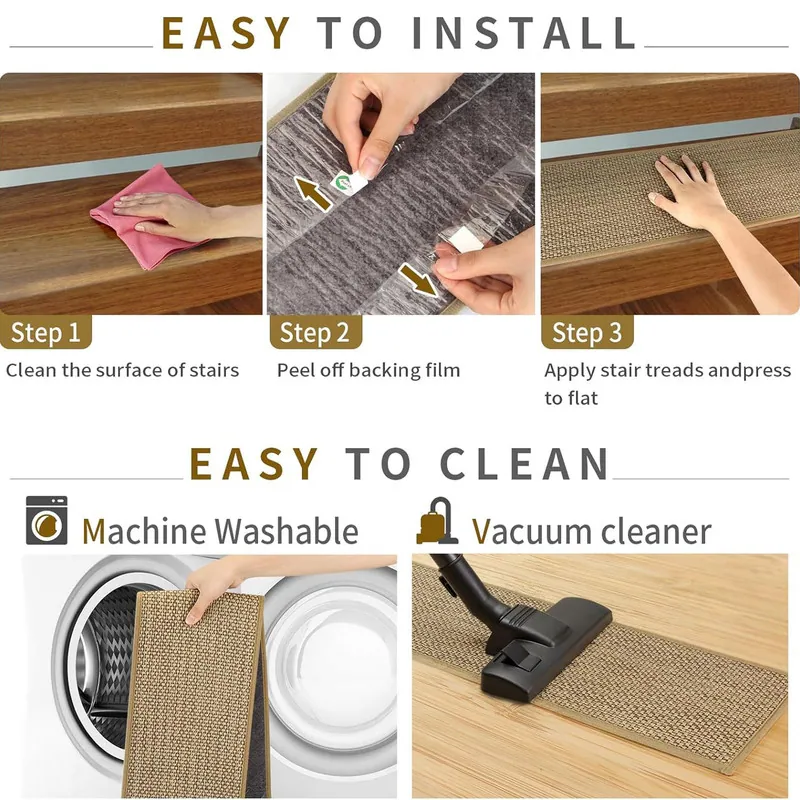
Washable & Hygienic: Simply peel off and toss into the washing machine. No need for special cleaning — maintain clean, fresh mats with ease.
-
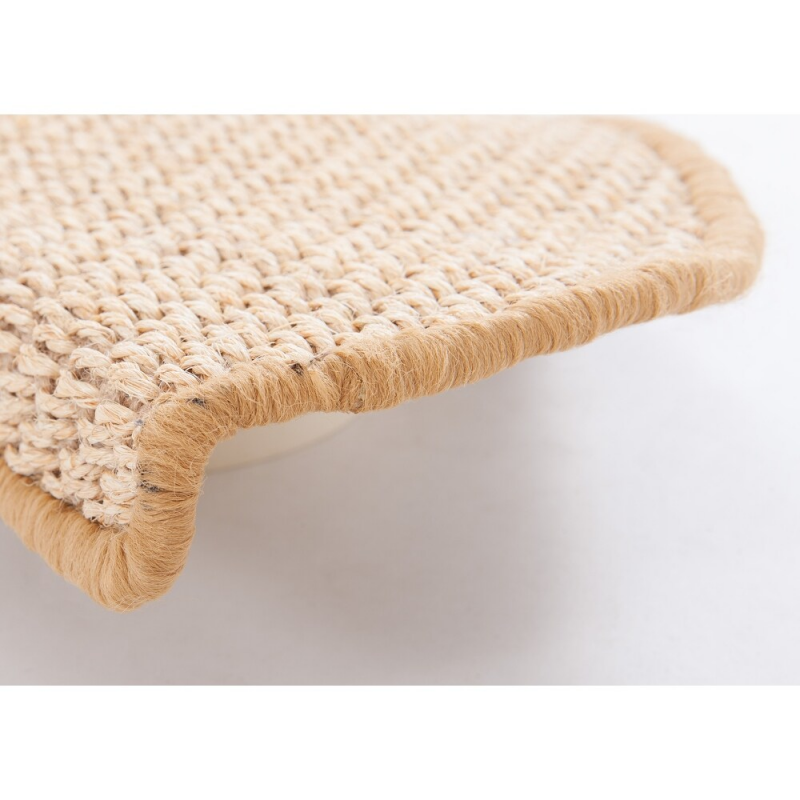
Strong Self-Adhesive Backing: Comes with a durable adhesive backing that grips stairs firmly—no nails, no screws, no damage.
-
Easy Removal & Replacement: You can remove individual mats for cleaning or seasonal style changes without leaving residue.
-
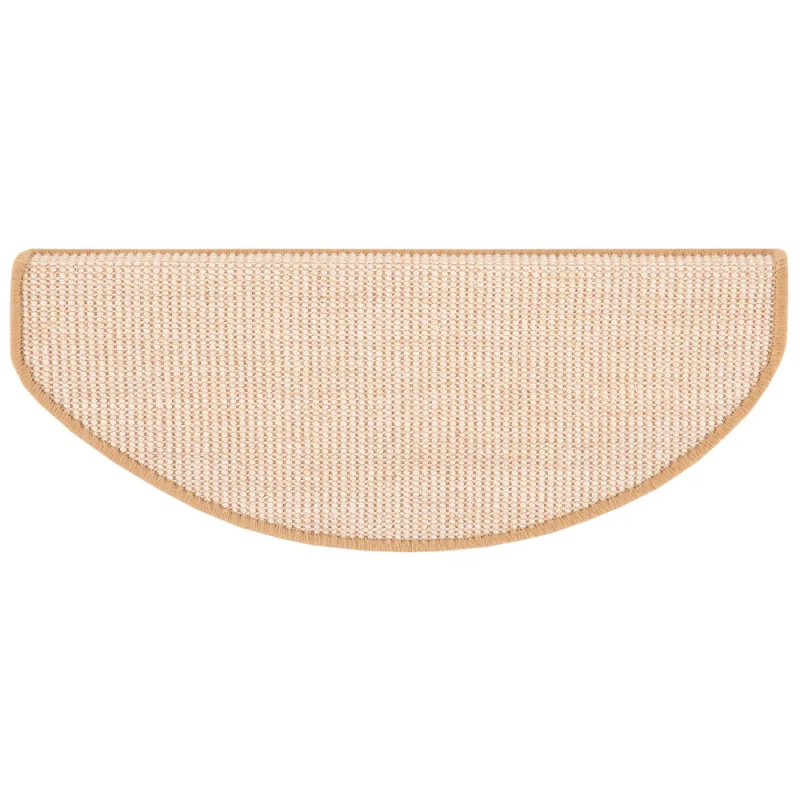
Blend with Your Decor: Available in multiple colors, patterns, and textures to complement your interior styling.
Step 1: Measure & Mark
-
Measure the width and depth of each stair tread (step).
-
Mark the center line of the stair to help align mats symmetrically.
Step 2: Clean the Surface
-
Wipe down the stair surface thoroughly to remove dust, dirt, or debris.
-
Ensure the surface is dry before applying mats, so adhesive can bond properly.
Step 3: Peel Adhesive Backing
-
Start with the first stair: peel back about 2–3 inches (5–8 cm) of the protective film from the adhesive side.
-
Be careful not to touch the adhesive too much.
Step 4: Align & Press
-
Align the rug mat starting from the back edge of the stair. Use your center line marking for symmetry.
-
Gradually peel off the rest of the film while pressing down firmly from back to front.
-
Apply pressure by hand, or use a soft roller for better bonding.
Step 5: Smooth Out Air Bubbles
-
Use a flat object (like a soft cloth or roller) to smooth from the center outward and remove air bubbles.
-
Check all corners and edges; press down firmly to ensure full contact.
Step 6: Repeat for All Stairs
-
Continue the same process step by step for each stair.
-
Make sure each newly installed tread doesn’t interfere with the riser or adjacent mats.
Step 7: Final Inspection & Adjustments
-
Walk up and down the stairs slowly to test grip.
-
If any mat feels loose or lifts at edges, re-press or slightly adjust position while adhesive is still fresh.
-
💡 Pro Tip: Install from the bottom stair upward — that way, you won’t accidentally step on freshly adhered mats while doing upper steps.
Upgrade your stairs now — order our Non-Slip Stair Tread Rug Set and enjoy safer, quieter, and stunning stairways in just minutes. Click “Buy Now” or “Shop the Collection” to get started!